
Basics - Making workspaces with frameworks & apps.
It's often suggested that you should split up your codebase, which could give you faster build times and better enforce a separation of concerns, but not often explained. This quick walkthrough will show you how to setup a new workspace (if needed), add an iOS app and framework, then get those all linked up.
If you're starting from scratch, follow this guide on how to setup a workspace. If you've all-ready got one and you're just looking to add a framework, just read "Adding a framework" and "Linking a framework".
Creating a workspace
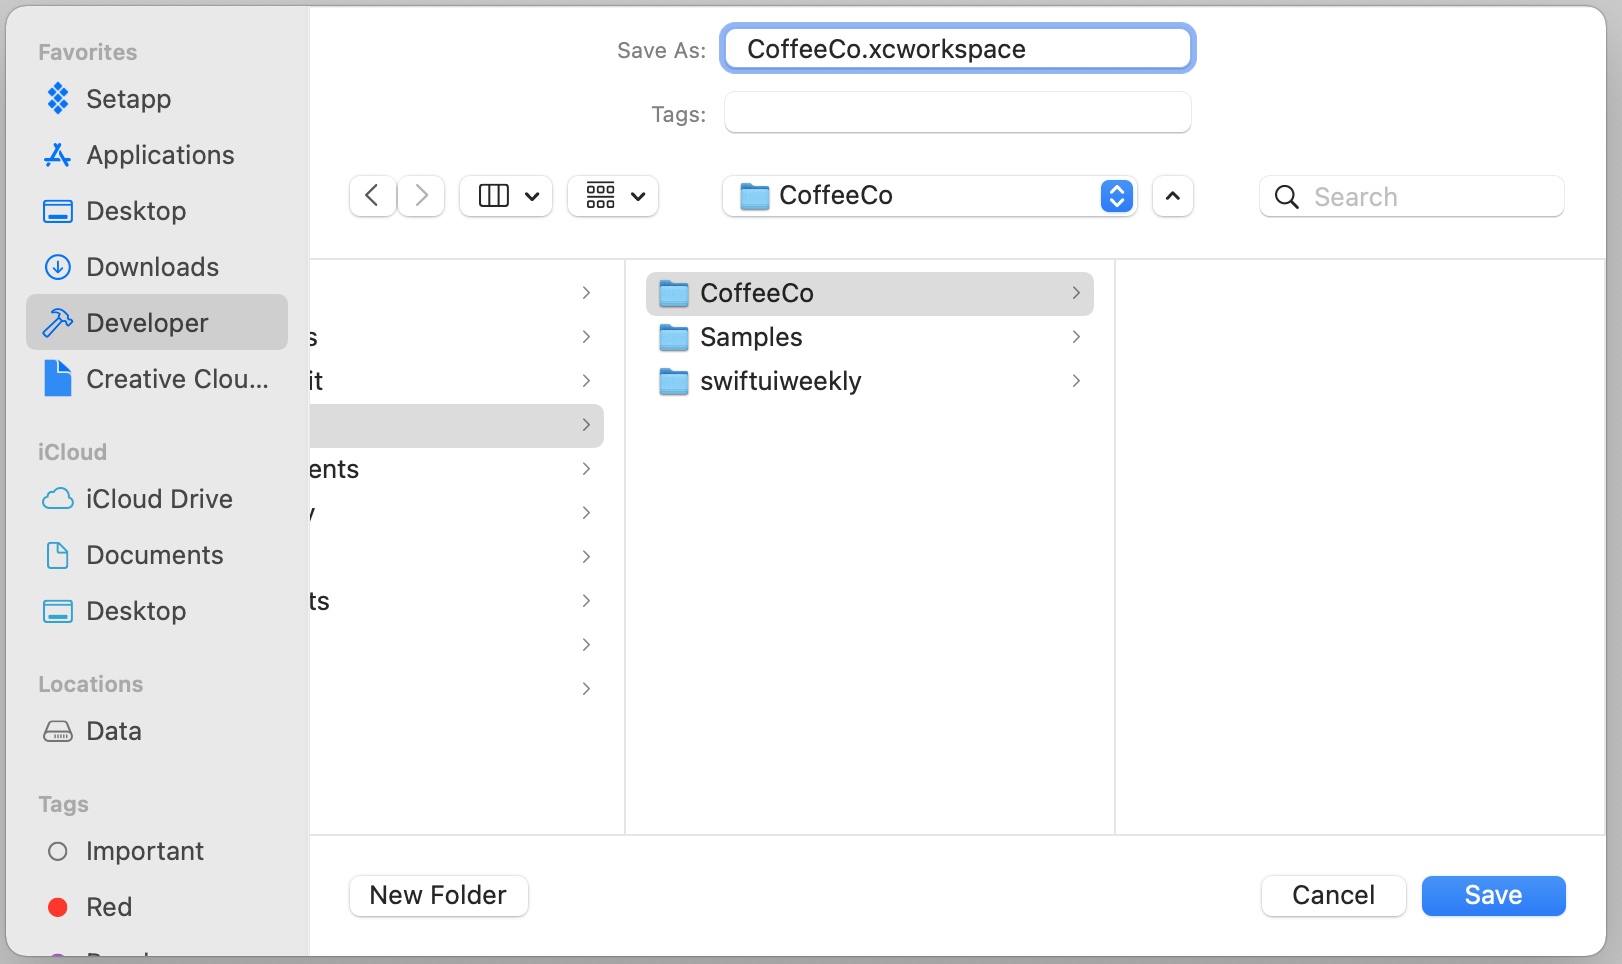
Open Xcode ( Im using 12 here ) and select file > new > new workspace. When Xcode asks you to name the workspace, make a new folder first, called the same name as the workspace, and then put the workspace in that. Here I've created "CoffeeCo".
Adding a framework
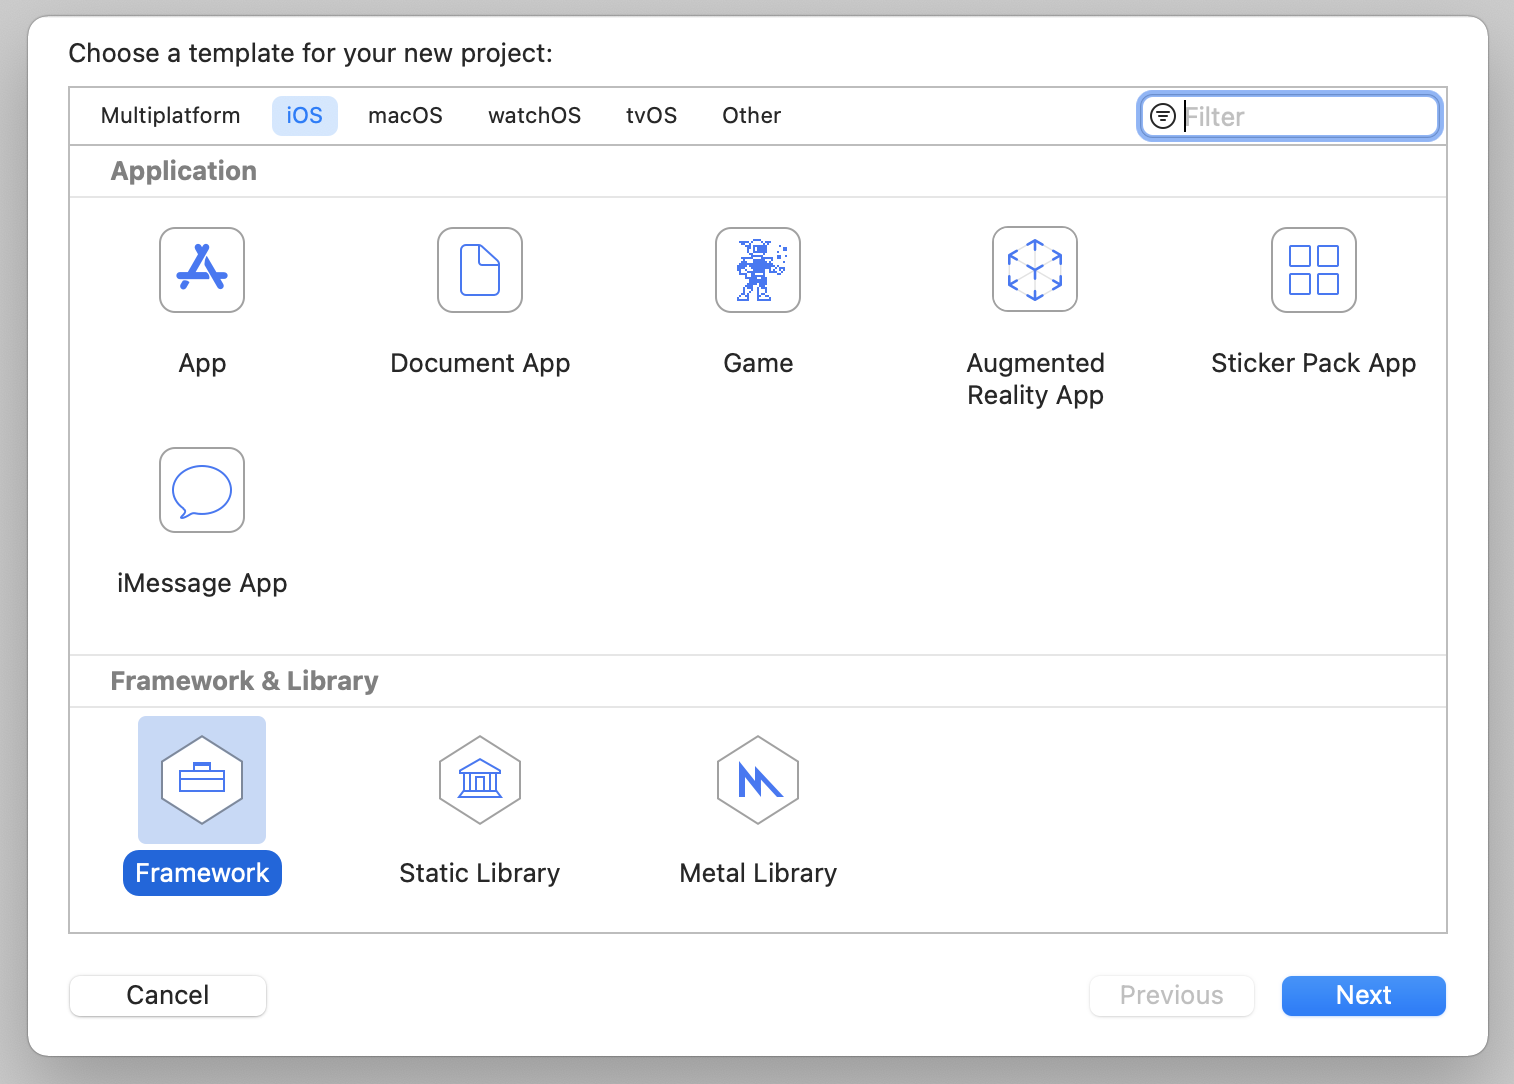
The initial workspace will be empty, so let's get started by creating a framework. We do this by selecting file > new > project, and in the menu that appears select framework.
Next, name your framework and be sure to include tests.
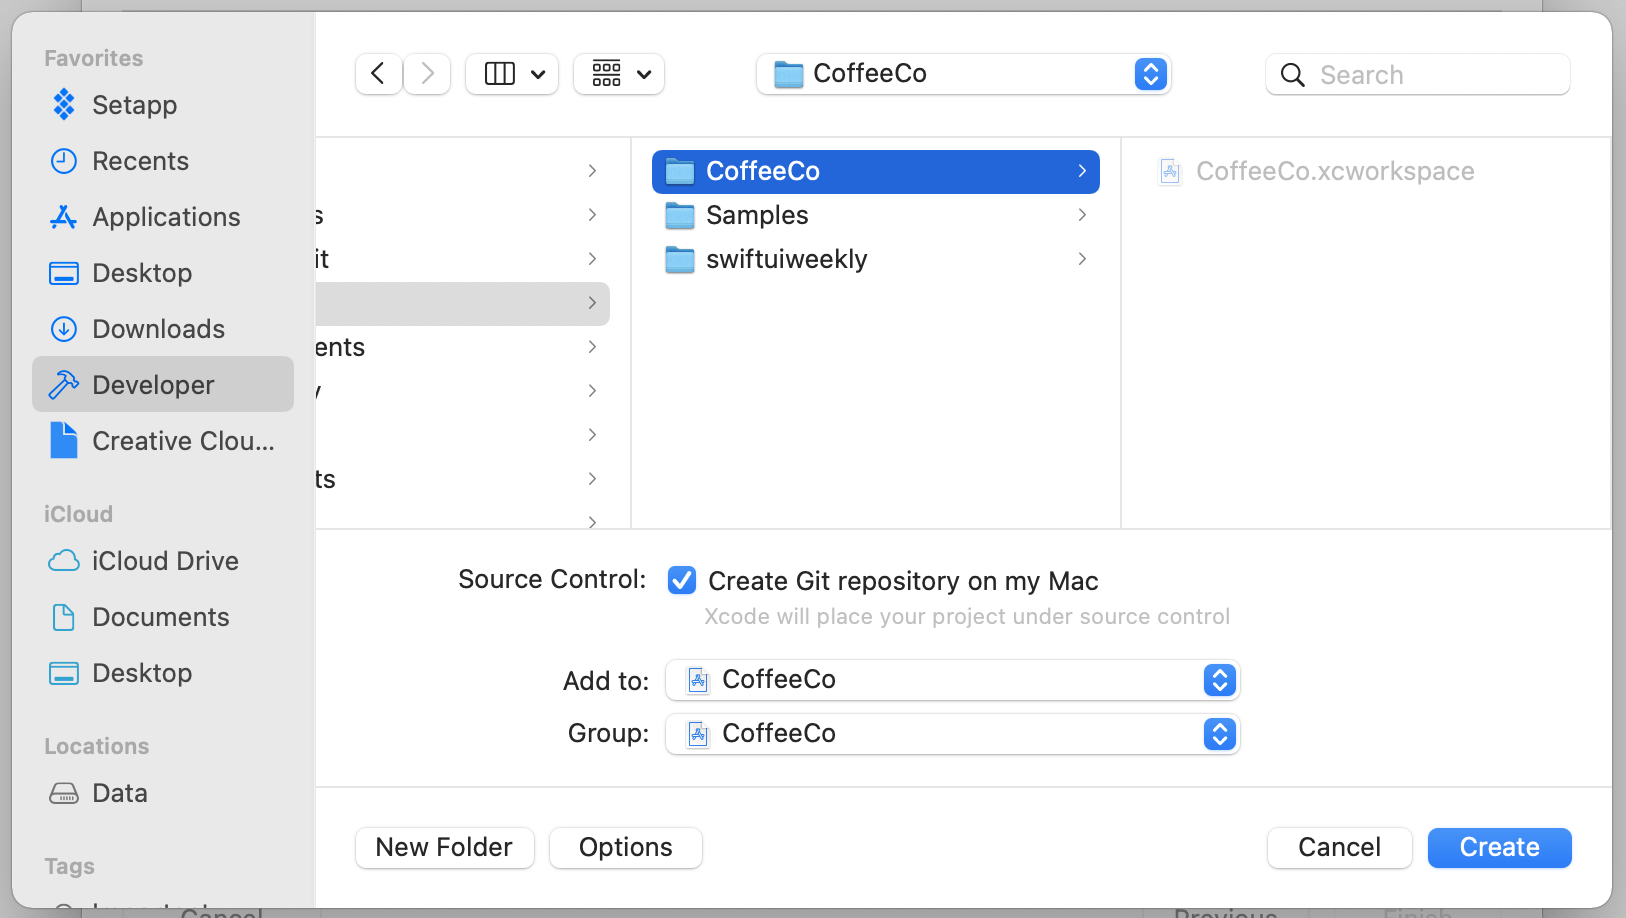
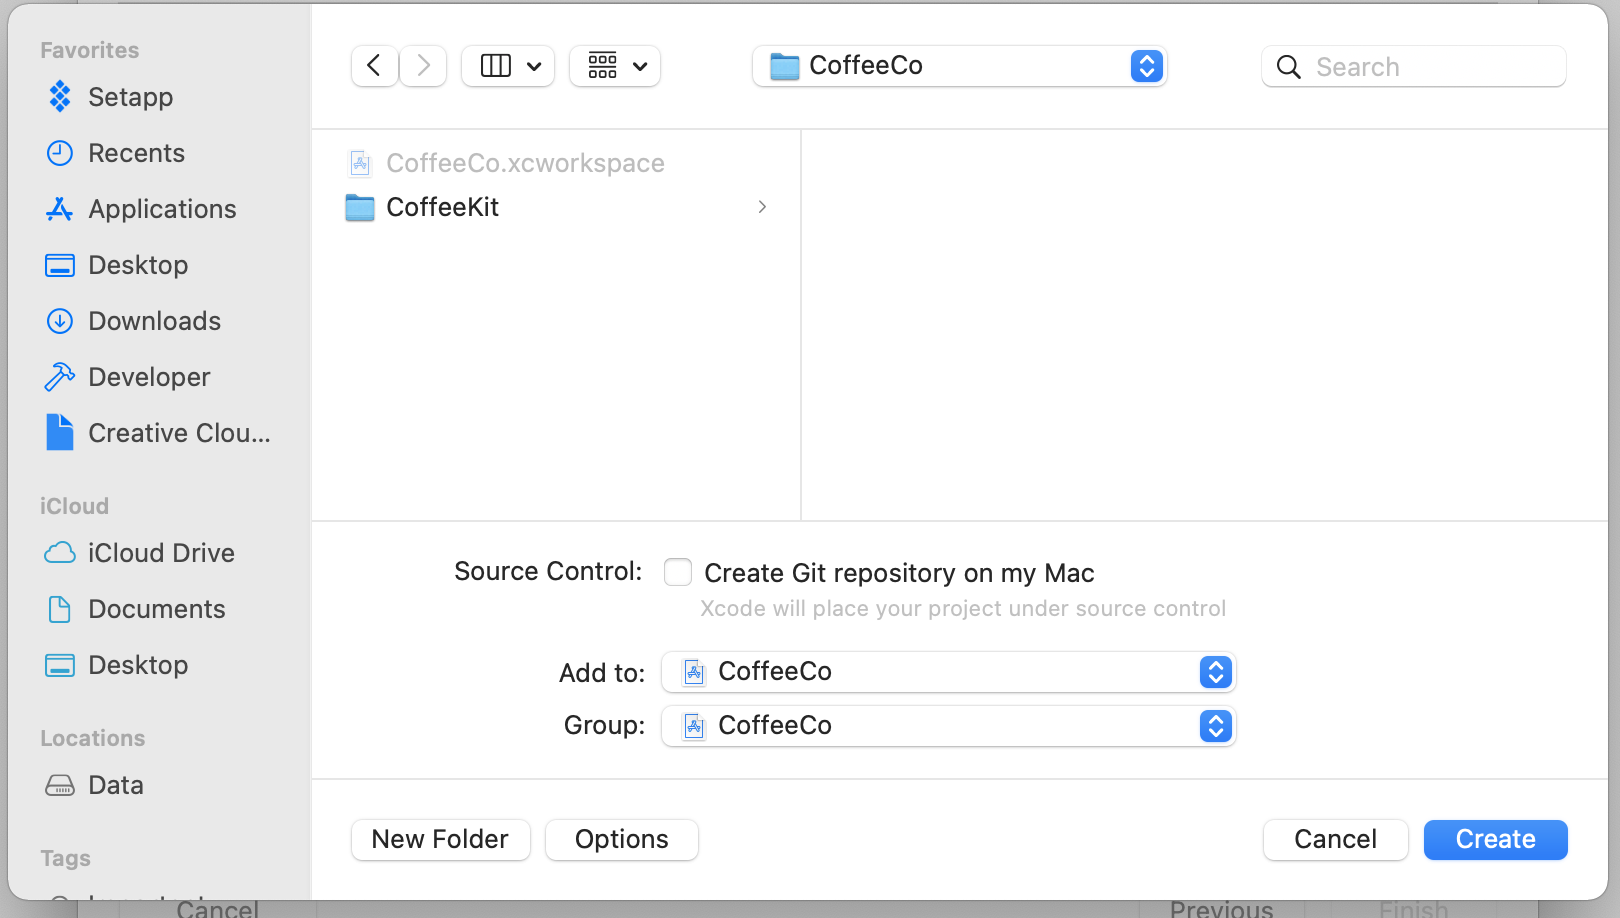
To make sure we include this project in our existing workspace, we'll have to select it in the save dialogue. Select the folder we made earlier as the location, and then make sure to set the "add to" and "group" values to the name of your workspace, in this case, "CoffeeCo". Later on we're going to setup one top level version control for the whole workspace, so be sure to un-tick that for now.
You will now have a new xcode project open, which contains your framework. You can work in this window if you'd like when you're working on your framework, but you can also close this window and open your workspace, where you'll find this same project.
In order to make sure we've got everything working later on, we'll need some really simple code to test with. Inside my framework I've made a struct called Coffee with a single string property, it's name.
public struct Coffee {
    public let name: String

    public init(name: String) {
        self.name = name
    }
}
public struct Coffee {
public let name: String
public init(name: String) {
self.name = name
}
}It's important to note that I've made everything public here. If I didn't, this struct wouldn't be usable in another module/project. The member-wise initialiser we normally get for free won't be usable in projects that import this, so we have to add our own.
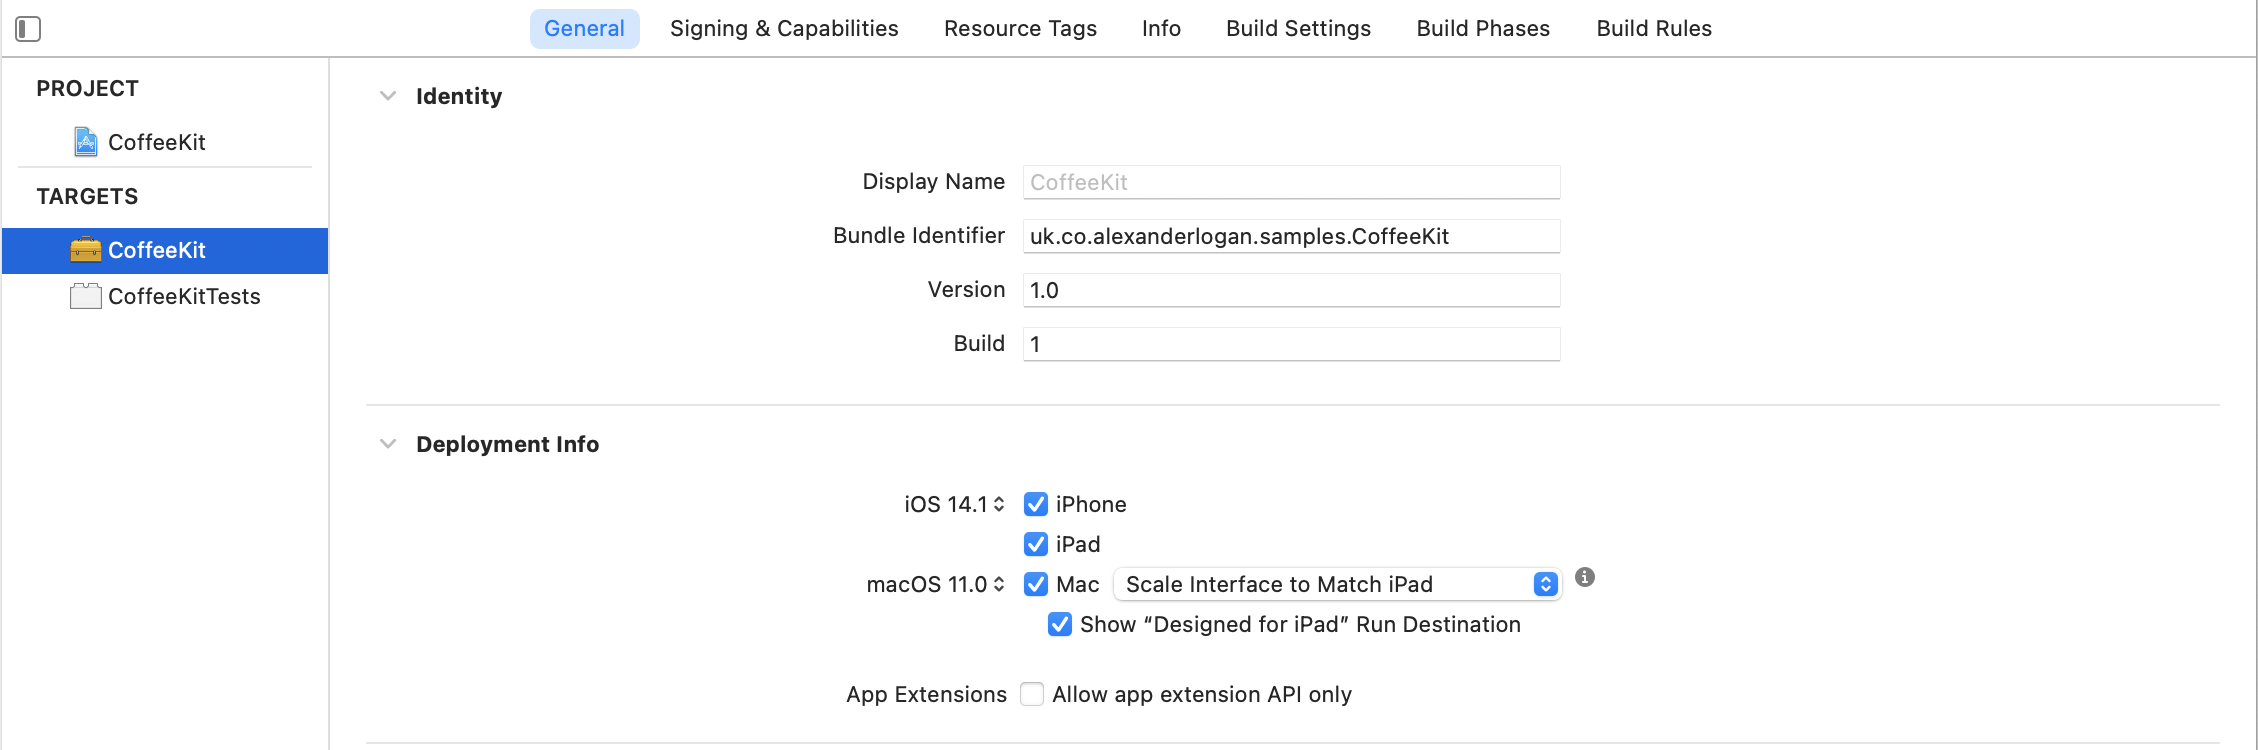
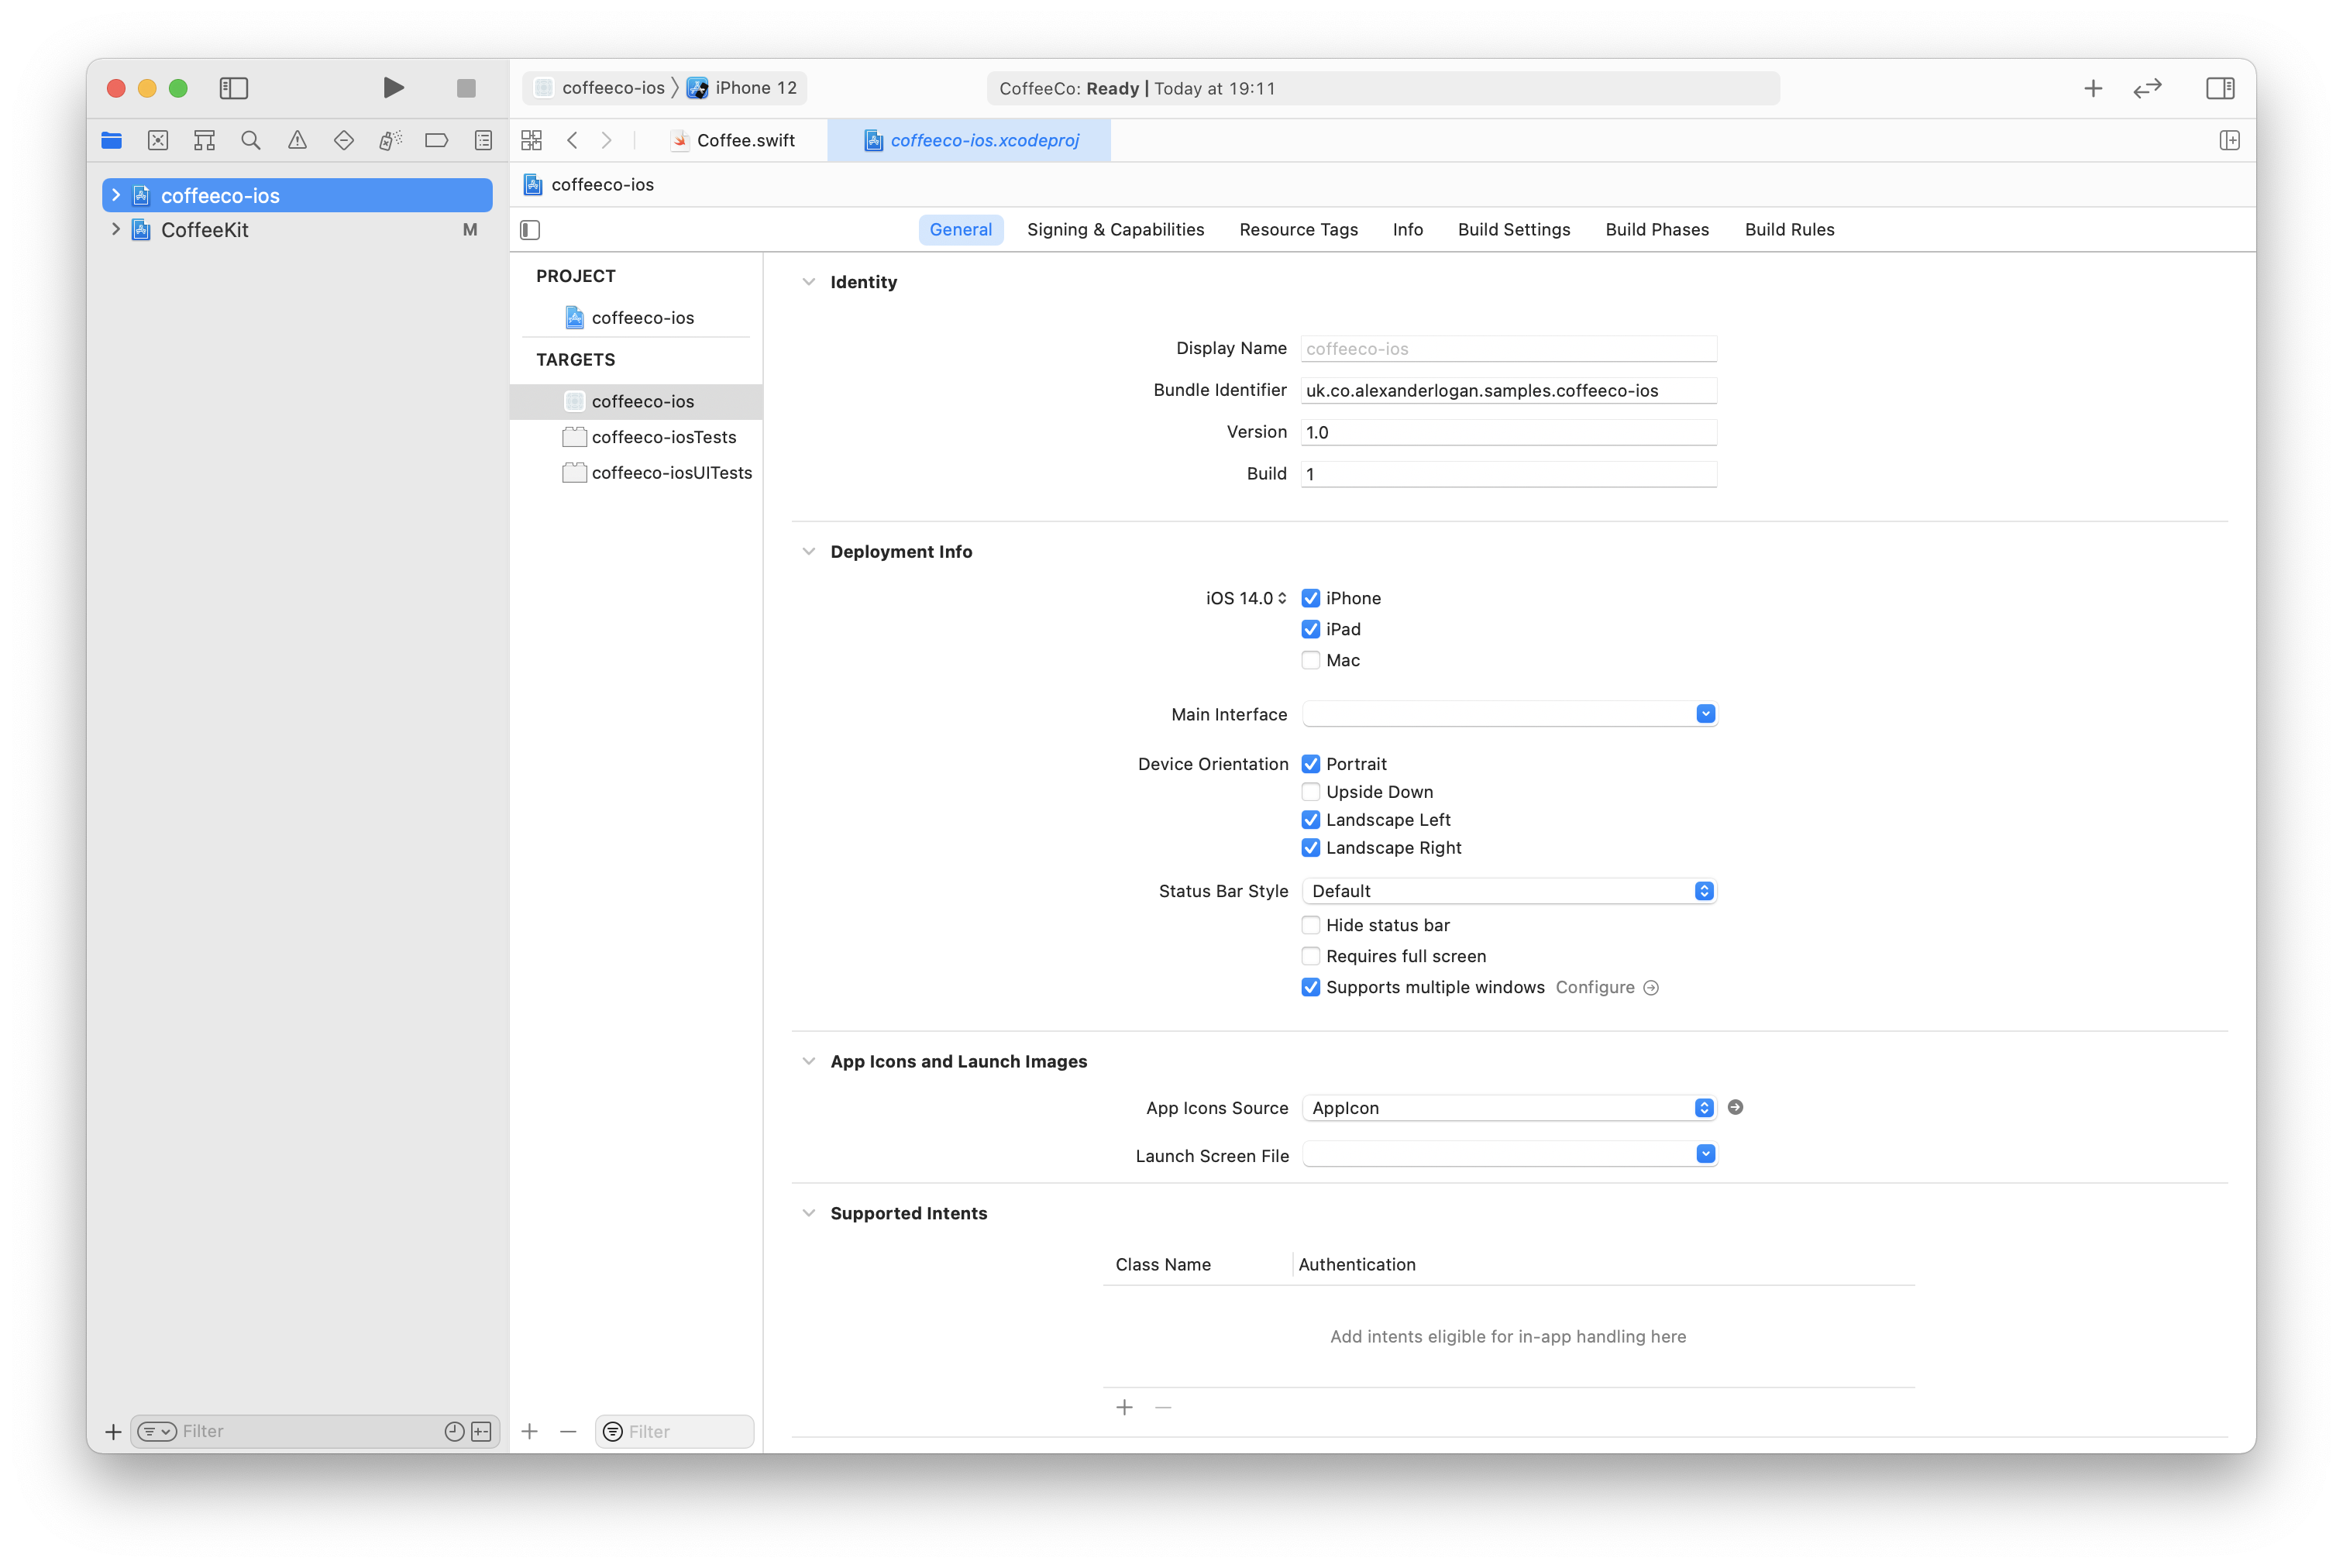
We'll also need to set a minimum iOS version for the framework, as the default one is usually the highest one Xcode can find. In the workspace select your framework and then the relevant target ( It has a little yellow toolbox next to it ). Set the iOS version to whichever is your minimum, in my case I'm going for 14.1. Whatever this minimum is, your app will have to have the same or higher.
Adding an iOS app
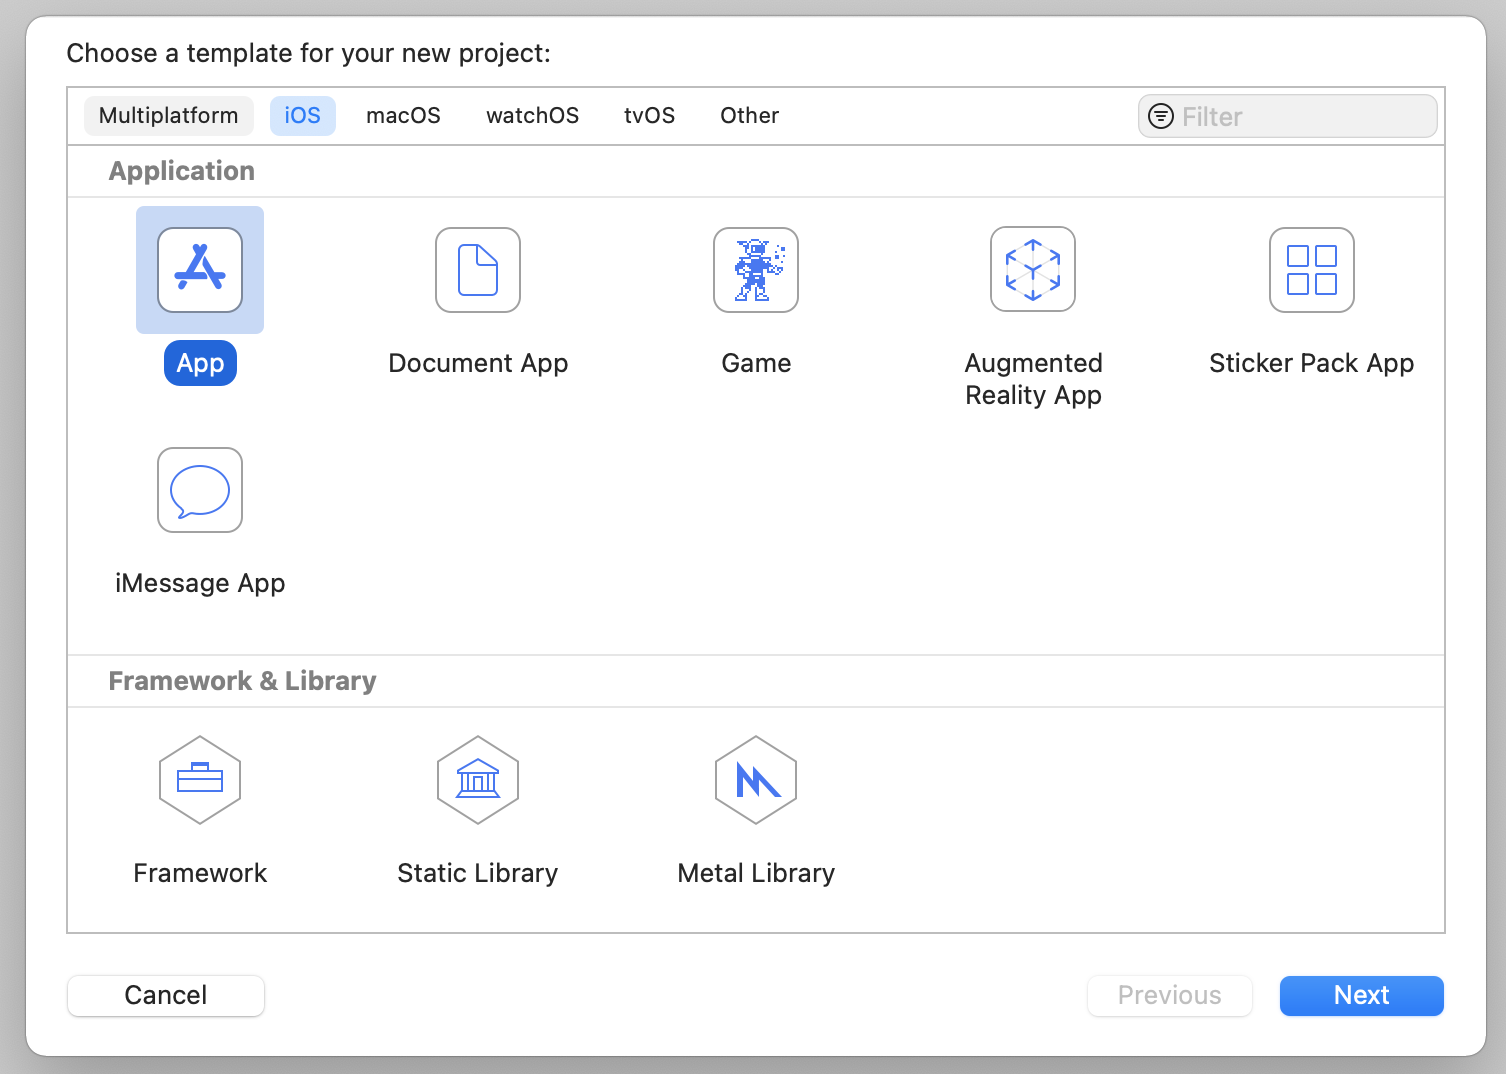
Now we've got some test code and a minimum version, let's add the iOS app. We do this by selecting file > new > project, and in the menu that appears select iOS at the top and then app.
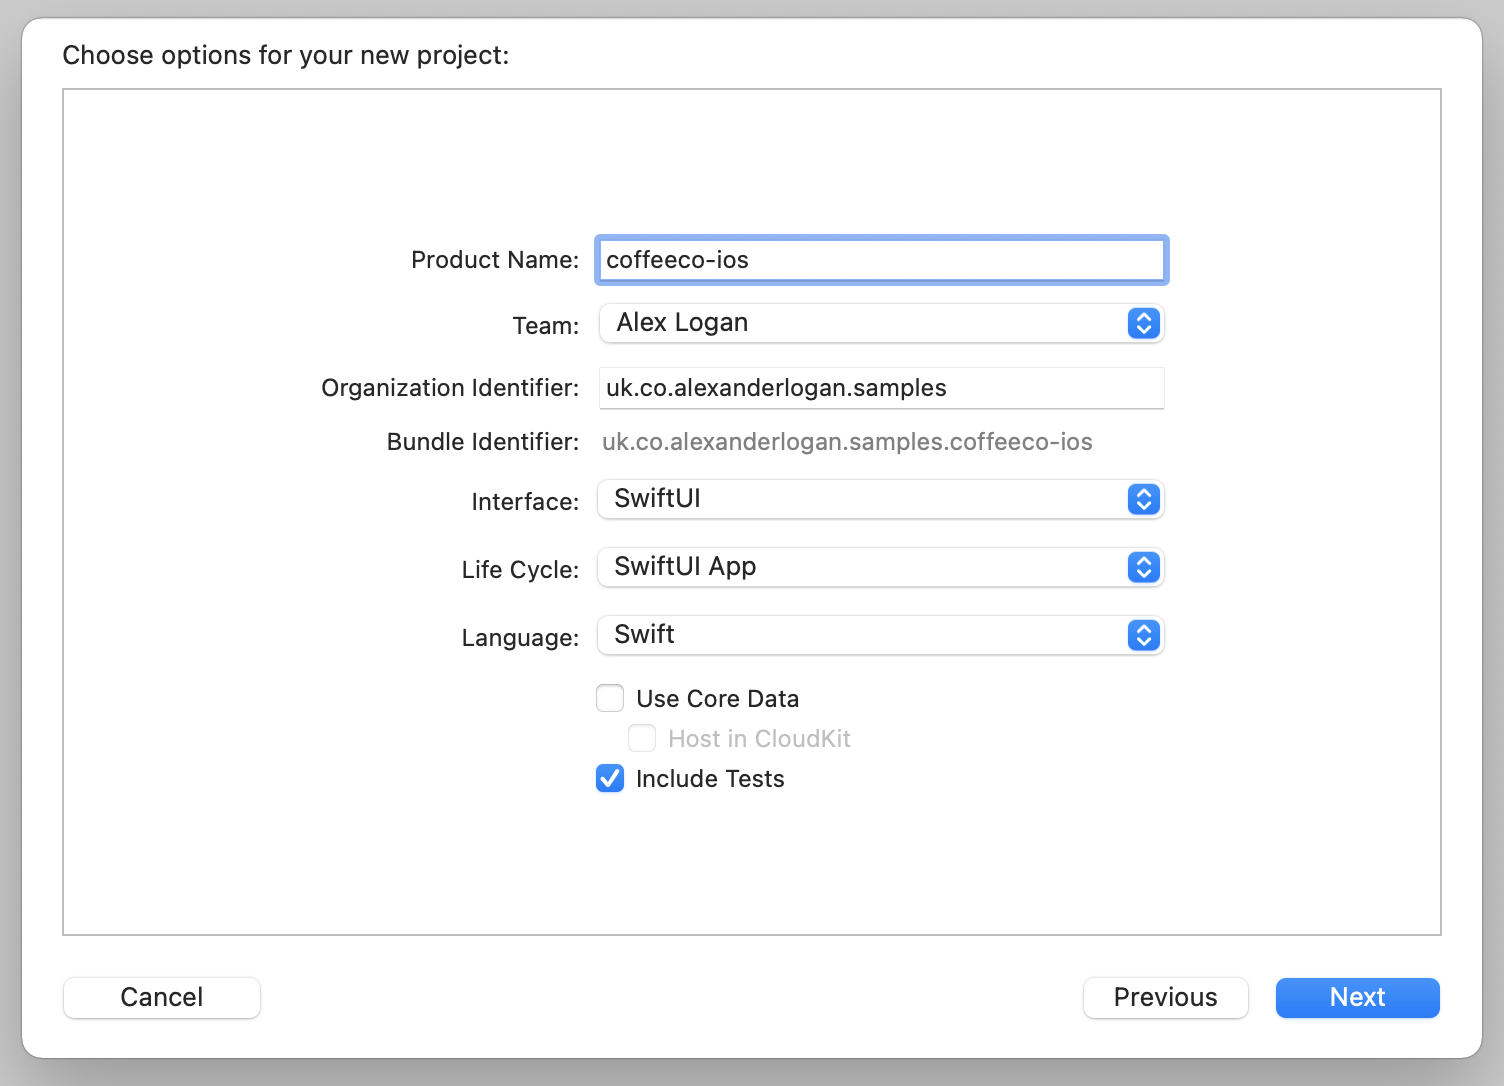
There's nothing special in the iOS dialogue, just make sure to include tests and tick the other options that you'd like. Here's what "coffeeco-ios" looks like as an example.
Next we'll need to do the same process in the save dialogue as our framework, but for the iOS app.
You'll now have an Xcode workspace with something a little like this, two Xcode projects, one for your framework and one for your app. Here's what mine looks like.
Linking the framework
We're going to have to link these together now. This process will need to be repeated for every framework you add, so be careful to remember to do so.
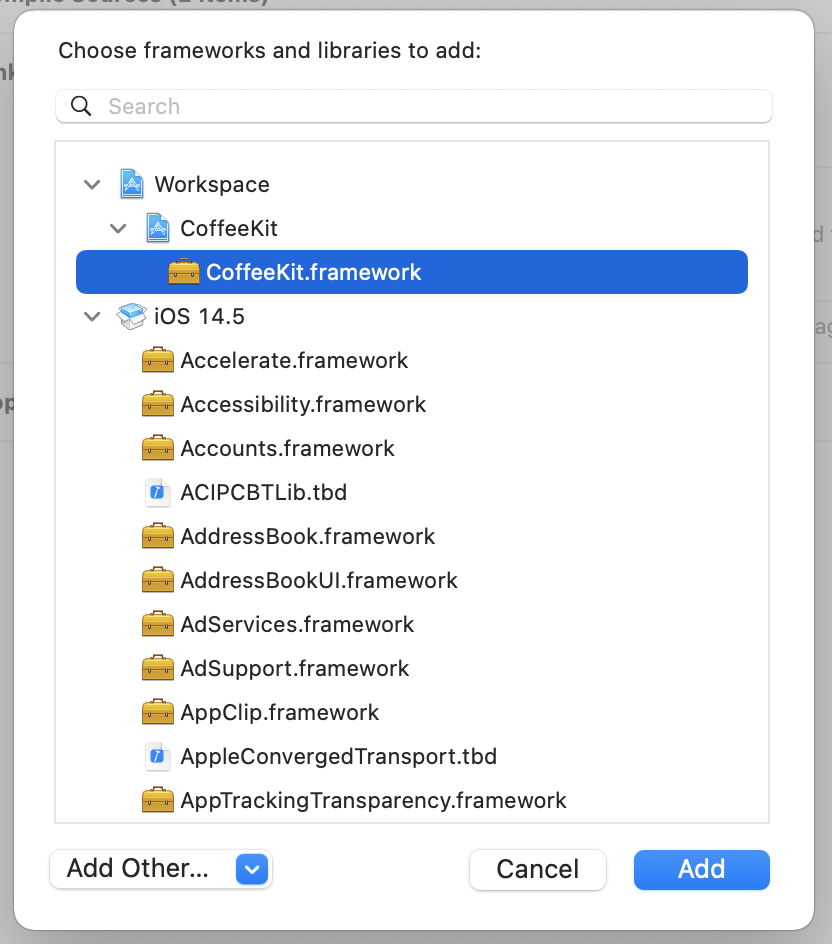
Navigate to your project from the workspace and select the build phases tab. You'll be able to see an option for "Link binary with libraries", open that with the little down arrow. Tap the plus and in the dialogue that appears you'll be able to see your framework at the top. If not, you can search for it in the search box.
You'll also have to tell Xcode to embed & sign this framework on the way in. If you don't do this, the app will crash on open, as the framework will be entirely missing.
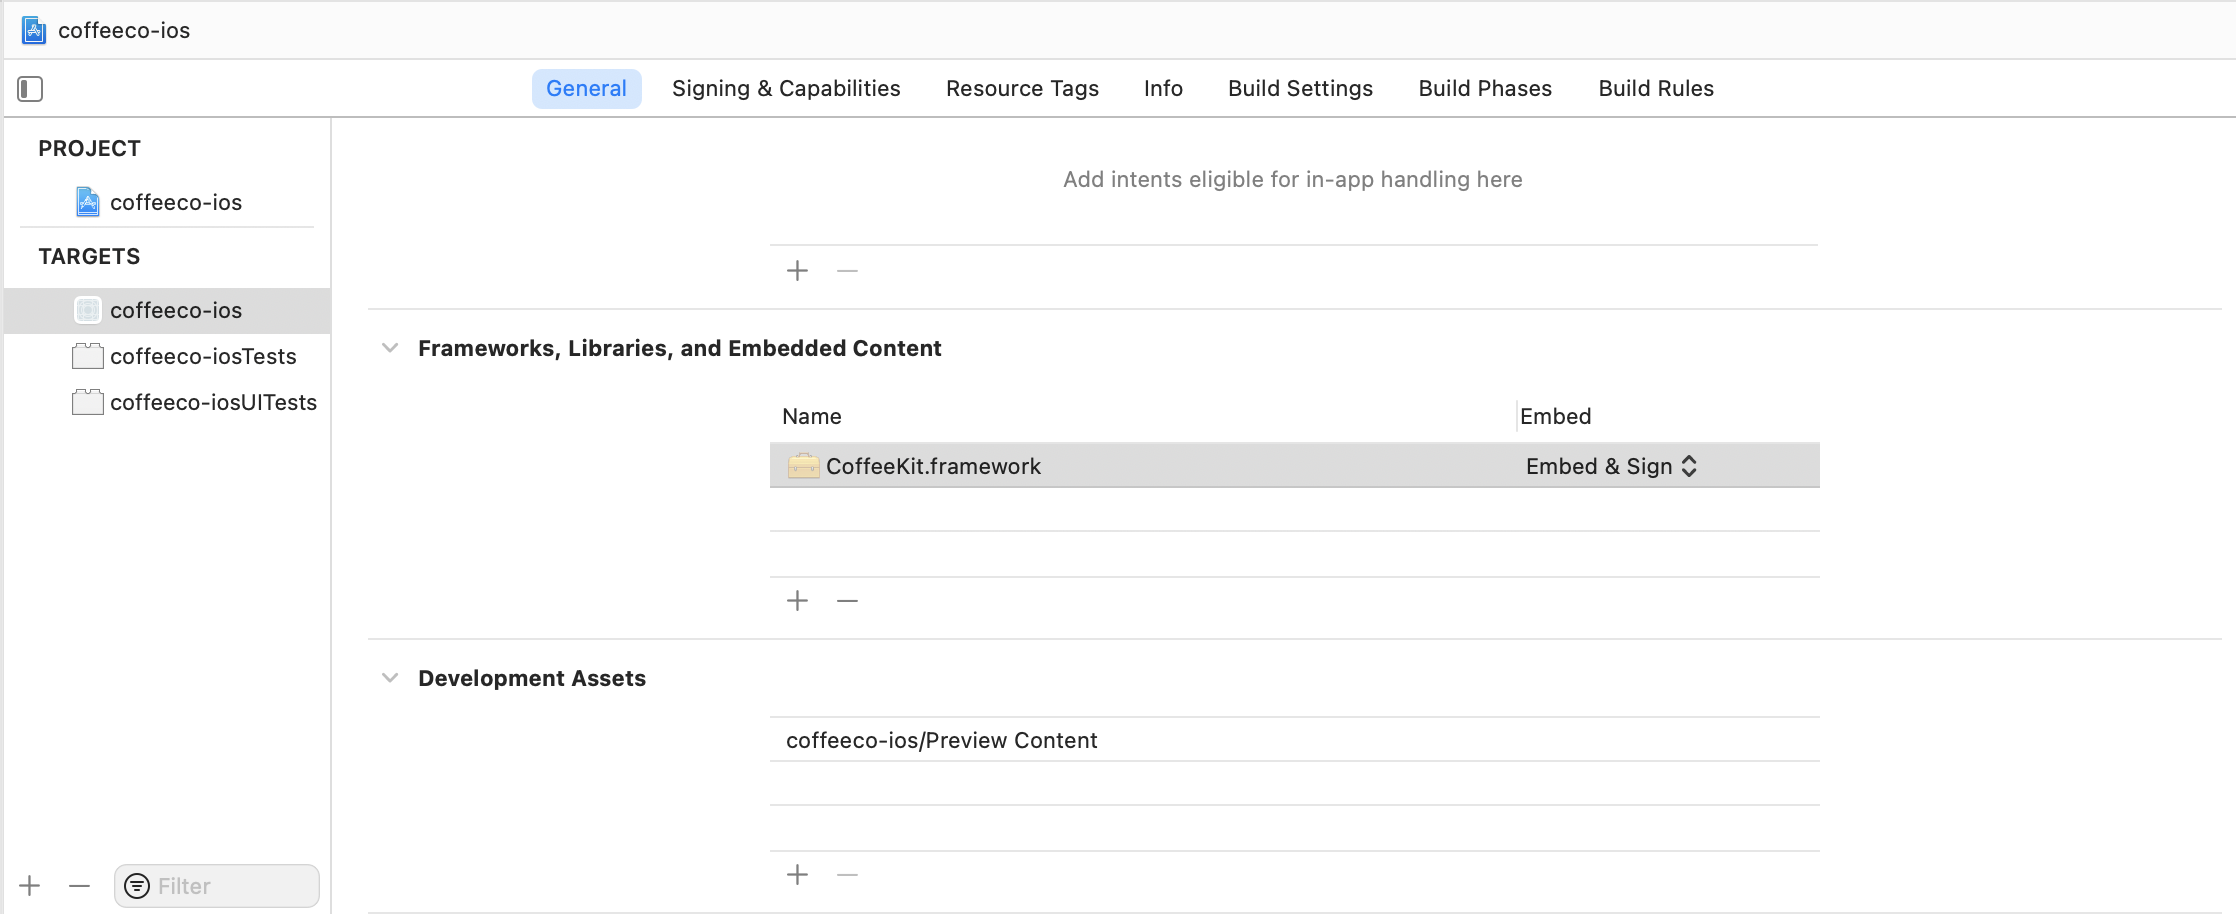
Head to the general tab instead of build phases, and scroll down to "Frameworks, Libraries and Embedded Content". Select your framework(s) and set the embed mode to embed and sign.
At this point we're actually done setting up, but we should test everything worked ok. Open up any swift file in your app and import your framework. Here, I've imported CoffeeKit and created a variable using my sample struct.
import CoffeeKit

struct ContentView: View {
    let coffee = Coffee(name: "Flat White")

    var body: some View {
        Text(coffee.name)
            .padding()
    }
}
import CoffeeKit
struct ContentView: View {
let coffee = Coffee(name: "Flat White")
var body: some View {
Text(coffee.name)
.padding()
}
}Adding Git
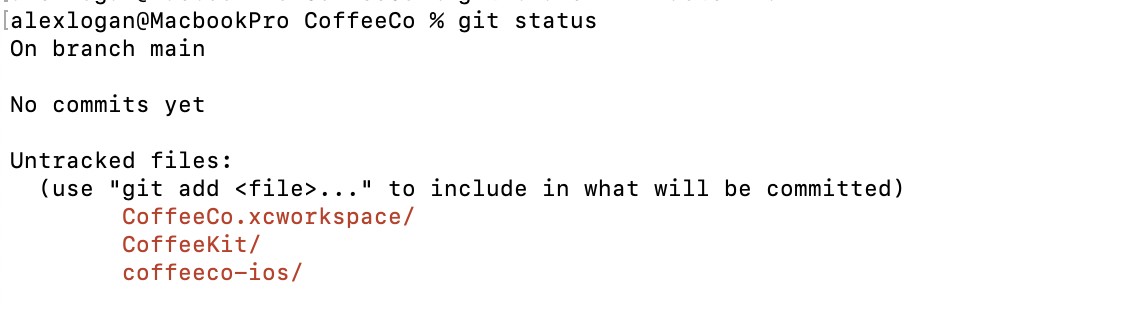
At this point, we don't actually have any version control for our top level project yet. To do this, we'll have to run git init inside our top level folder in a terminal. Once the command finishes, if you type git status the output should look like this.
Before we add those files we should add a gitignore file to make sure we don't accidentally add things like user data to source control. If you don't know how to write your own gitignore, a great example one can be found on github.
In the same place you currently are in the terminal you'll need to make a new text file, called ".gitignore" and paste in the contents from the link above, or type your own. If you're not too comfortable with the terminal, feel free to download the file above, drag it into this folder, and rename it to the correct name by removing the "Swift" from the start.
Now, we'll have to do the initial commits.
git add .gitignore and then git commit -m "initial commit" will add our ignore and add that first commit. Next, we'll need to actually add our code. git add . and then git commit -m "initial framework" should do the trick.
You're finished! The workspace is setup with an app and framework.
Frameworks are a great tool, and I highly recommend getting familiar with them to improve your development experience.
If you'd like, you can create more frameworks at this point to separate out your code even more. A common example is to have a core framework that contains things like authentication, any common extensions, and your network stack, then have a framework per business area.
Head to the repo and open 001-making-frameworks to run this code for yourself.
Got any basics you'd like to see written about? get in touch over on twitter.
